Site hosted by Angelfire.com: Build your free website today!


HOME PAGE | TEAR BEARS | TEAR KRITTERS |   NEW DESIGNS | KUSTOM KRITTERS & PERSONALIZED ITEMS | KRITTER KITS | LINKS & CREDITS | SPECIAL PROMOTIONS | *EMAIL ME* |

Sign up for our free newsletter!
Click the link and sign up for my newsletter and you can receive 1 free item from the SPECIAL PROMOTIONS page with your first paid order! You will also receive an occasional email newsletter highlighting sales, specials and new designs as well as articles and how-to ideas, free patterns and more!


Additional Options


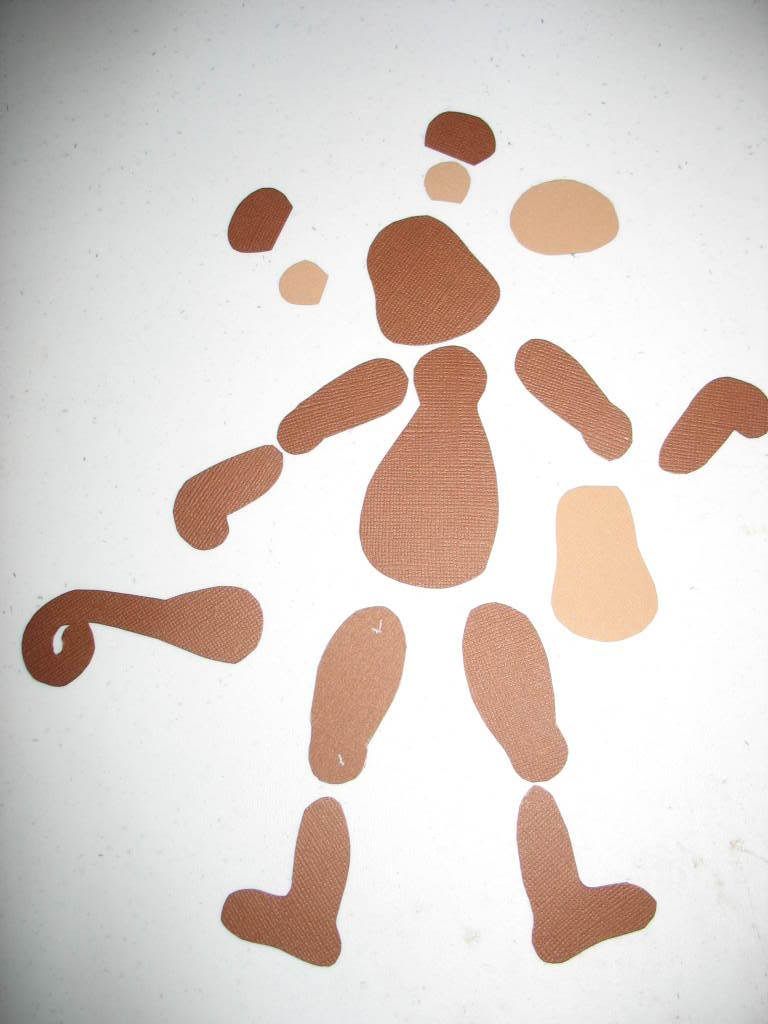
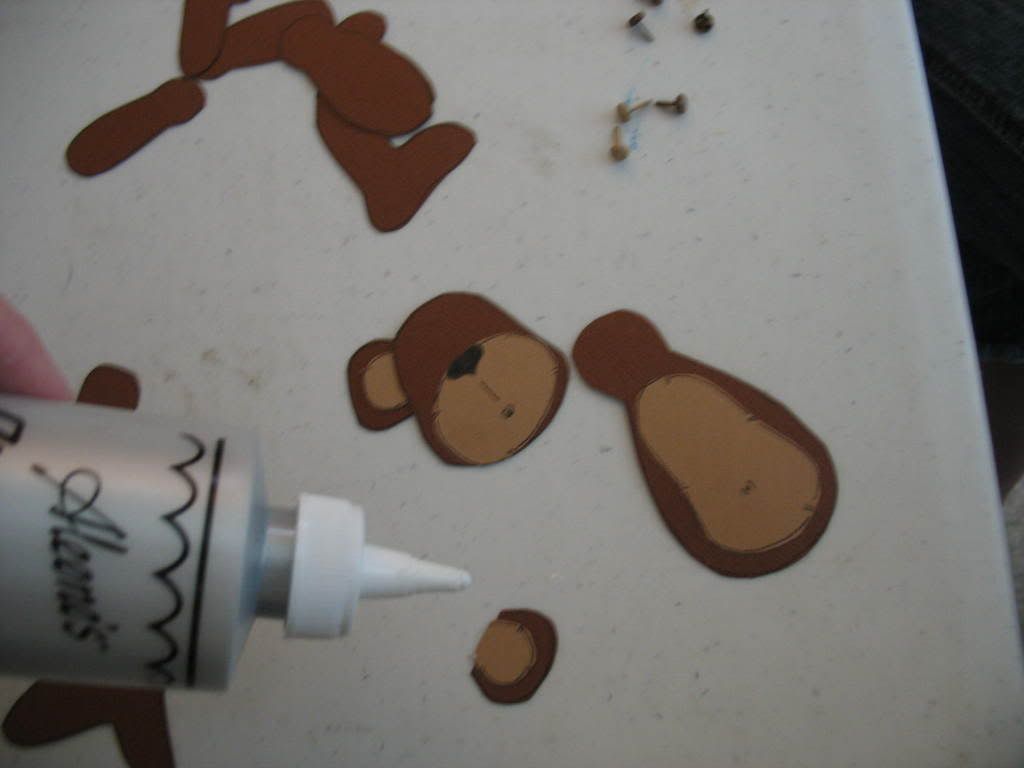
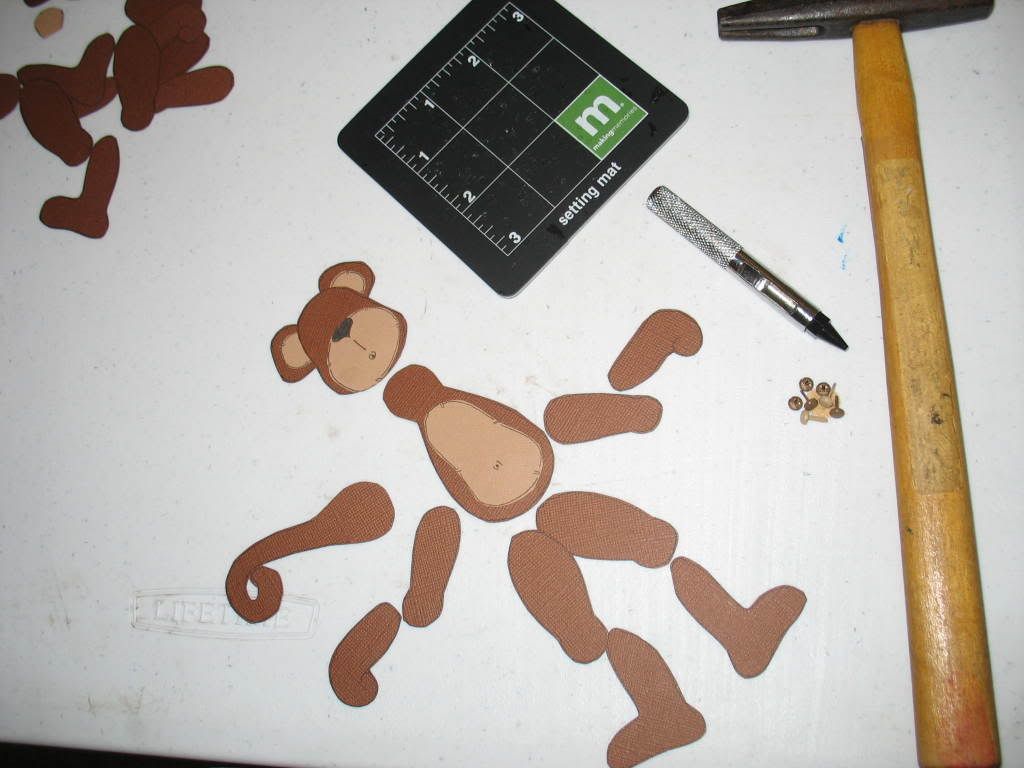
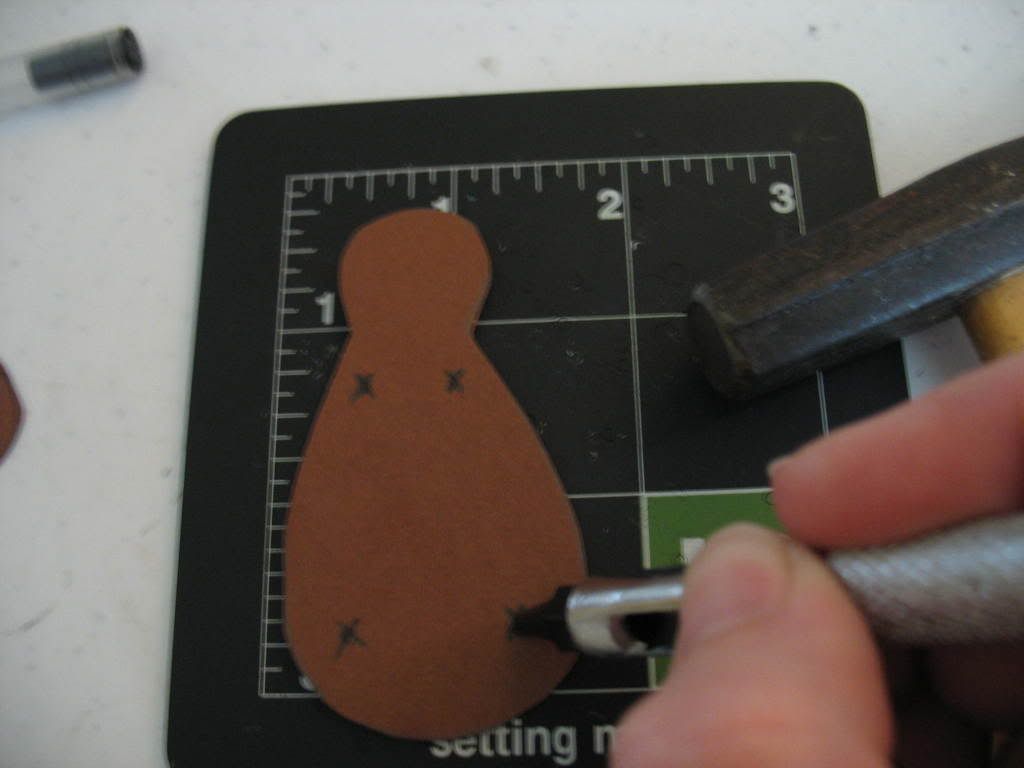
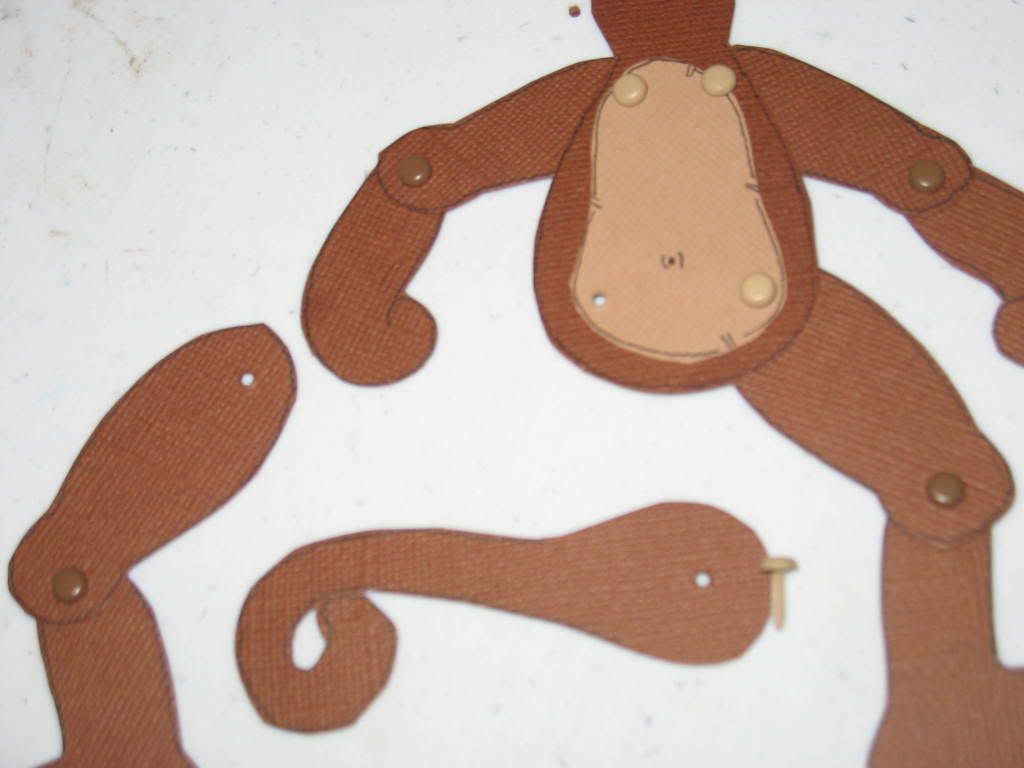
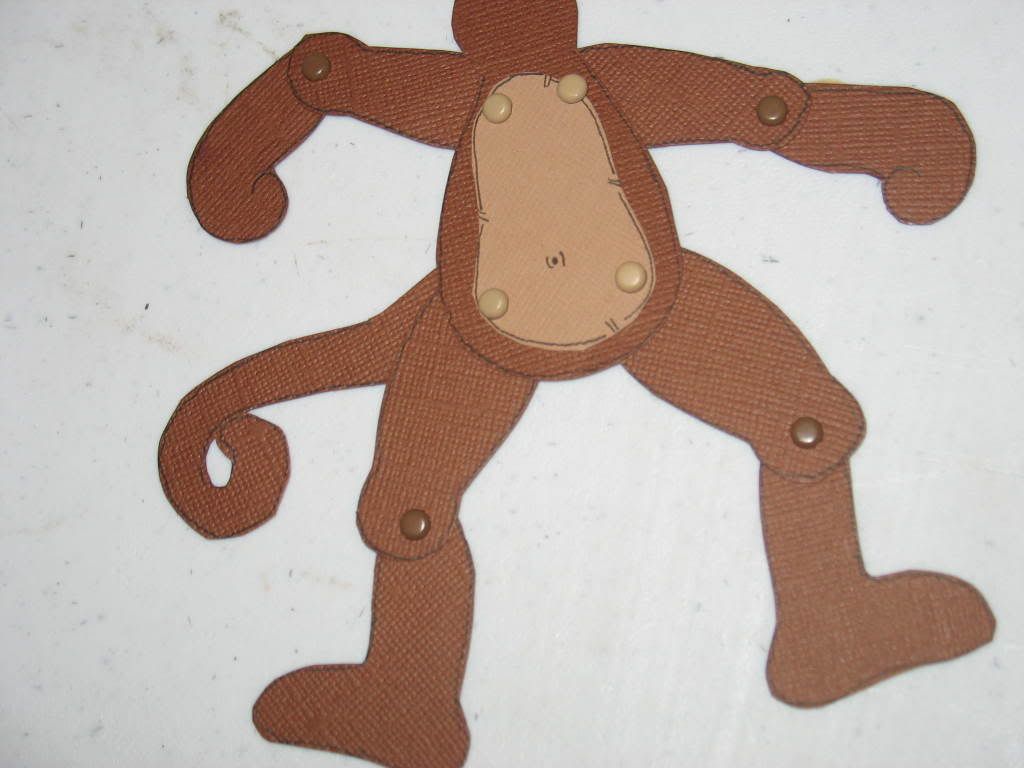
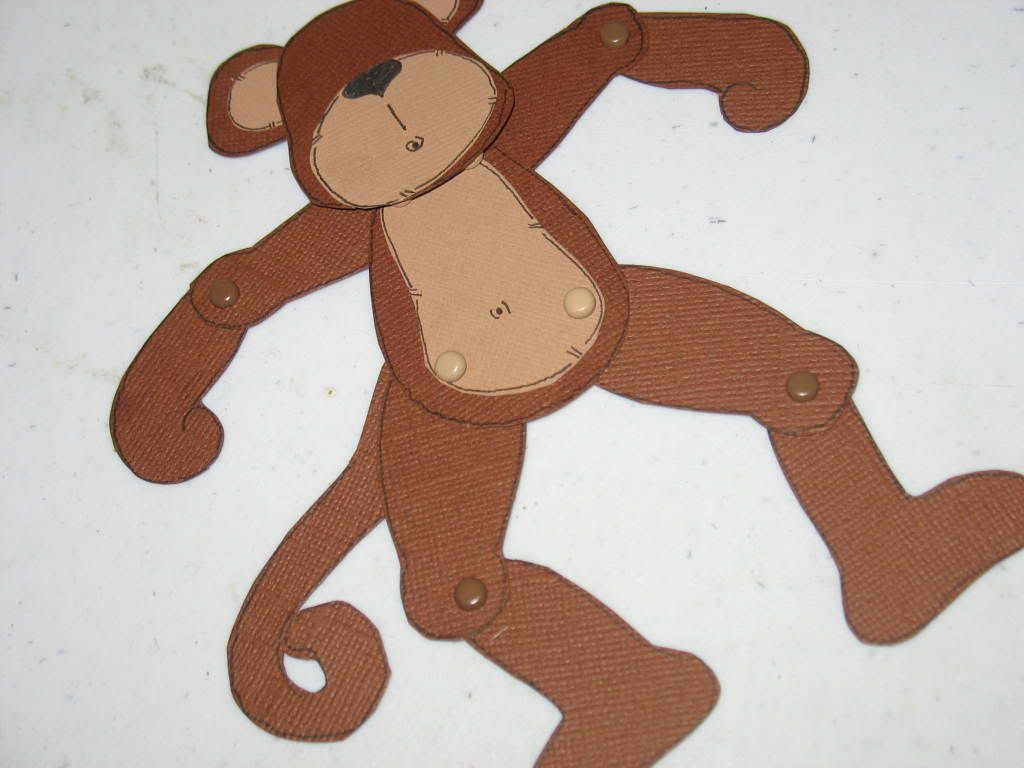
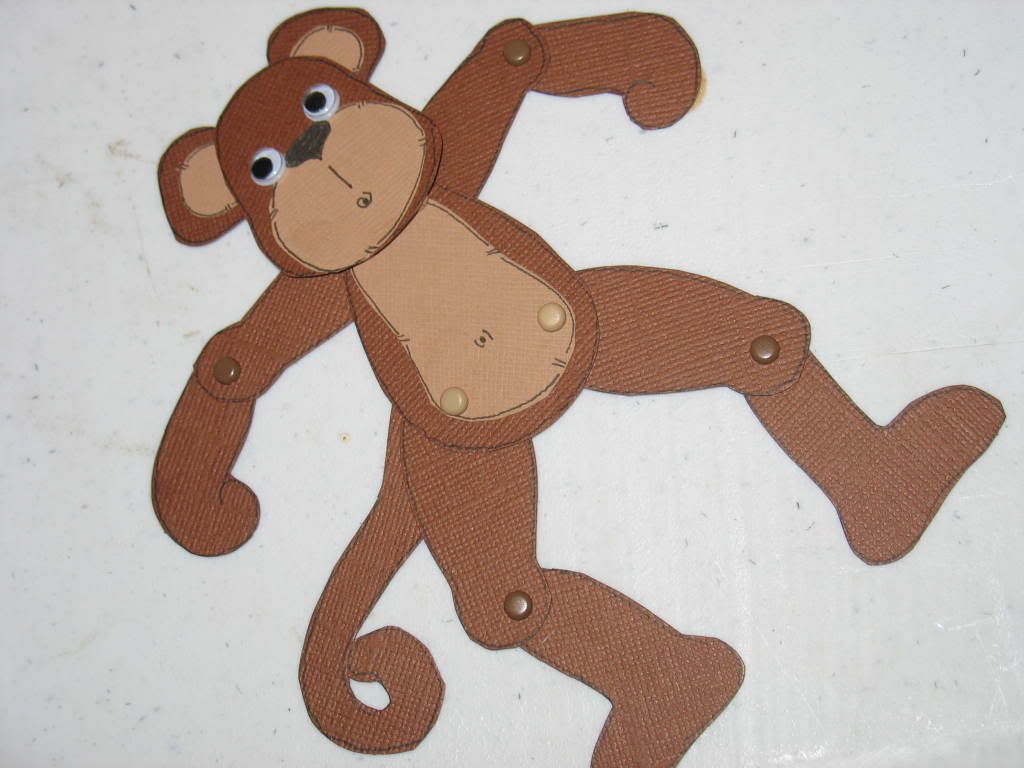
KRITTER KREATIONS MULTI-POSE KRITTER KITS
**HOW-TO TUTORIAL**
ORDER A KIT


The tips and tutorials below are to help you with ideas and methods of putting your new KRITTER KIT together. The MONKEY KIT is shown in the tutorial pictures, but the same principles apply to all the kits.
I created these KRITTER KITS to be simple, quick and easy. All of my kits are made using premium scrapbooking products ~ all are archival safe materials.
I use Bazzill Cardstock and PRE-PRINT the pattern and label each piece directly to the back-side of the cardstock so that you can quickly and easily make your KRITTERS. You don't have to cut out a paper pattern, keep up with a gazillion pieces then re-trace your pattern over and over again ~ everything is included. Cut once and assemble what you have cut! The brads are Bazzill Wings brand colored brads and match wonderfully with the Bazzill textured Cardstock.
Scroll to the bottom of the page to see assembly ideas for other kits as well as to purchase a kit from the KRITTER KREATIONS multi-pose kritter line.


Gather all your materials. Most kits will require some of the following items to complete them:
1. scissors
2. liquid glue
3. glue dots
4. eyelet setting mat
5. hole punch & hammer
6. gel pens for embellishing.

Cut out all of the pieces and lay them out to be assembled. All pieces are labelled on the back to help you keep track of them.
This would be a good time draw the nose and mouth and to doodle faux stitching and embellishment lines around the edges of each piece while the pieces are loose and easy to handle individually.

Glue the contrasting pieces to the main body pieces. For example:
glue the mouth/face onto the head
glue the light portions of the ears to the main ear cutouts
glue the tummy to the main body

Now you have the appropriate pieces glued together and you have doodled or embellished your Kritter. It is time to punch holes for the brads to finish the assembly process.

Turn each piece over to the side with the labels. Some pieces will be marked with an "X". Punch a hole at each of the "X". I use my Making Memories eyelet setter/hole punch tool and setting mat but you can use other tools if necessary. The holes need to be large enough for the brads to easily fit into, but small enough to hold the brads firmly

Now you have all of your pieces ready for final assembly.

First assemble the legs. There are 2 pieces labelled leg and they fit together at the knees with the foot pieces on the lower half of the leg. Assemble the legs at the knees by overlapping the punched holes and inserting the color matched mini-brads into the holes. Next assemle the arms at the elbows in the same manner using the same colored brads.

Now, using the remaining mini brads, attach the assemled arms to the body by overlapping the punched holes and inserting the brads through these holes.
When attaching the legs, choose one leg on which you will attach the tail. The tail will swivel around into any position and works equally well in either leg assembly. Line up the leg, the body and the tail into position by overlapping the punched holes. Insert the brad into all 3 layers and secure.
Now you have a fully assembled Kritter body ~ it is time to put on his head!

I prefer to use ZOTS extra thick glue dots to attach the head but you can attach the head using whatever adhesive you prefer.
Attach the head to the assembled body of your Kritter. I like to place the head of the monkey to 'hide' the set of mini-brads that hold the arms to the body.

Glue the 'googly eyes' onto the face of your new Kritter. You can also draw the eyes on or use RUB ON ANIMAL FACES to embellish your Kritter if you prefer. See my 'LINKS PAGE' to find a good source for the rub ons.

CONGRATULATIONS! You have just successfully created your KRITTER! You can now use him in your scrapbook layout, paper piecing or handmade cards! He can be posed in just about any way you want as shown in the examples below.


ORDER A KIT

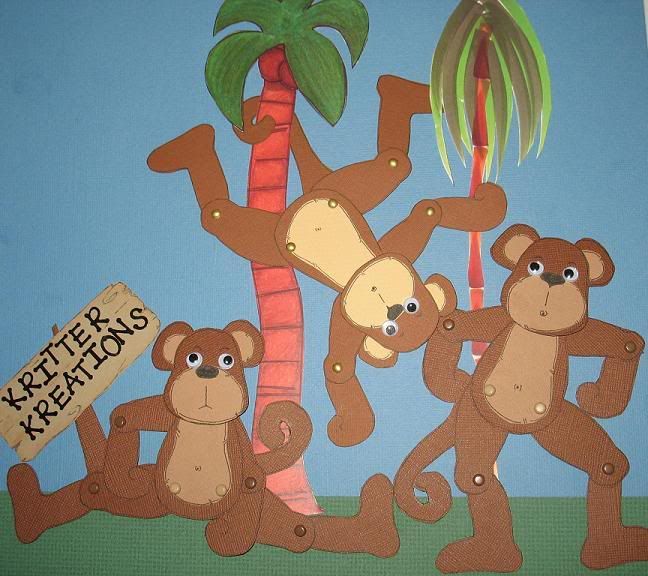
BUY THIS KIT ~ MAKES 1 MULTI-POSE MONKEY IN COLORS SHOWN
$5.50


KRITTER KREATIONS MULTI-POSE BUNNY KRITTER KIT OPTIONS

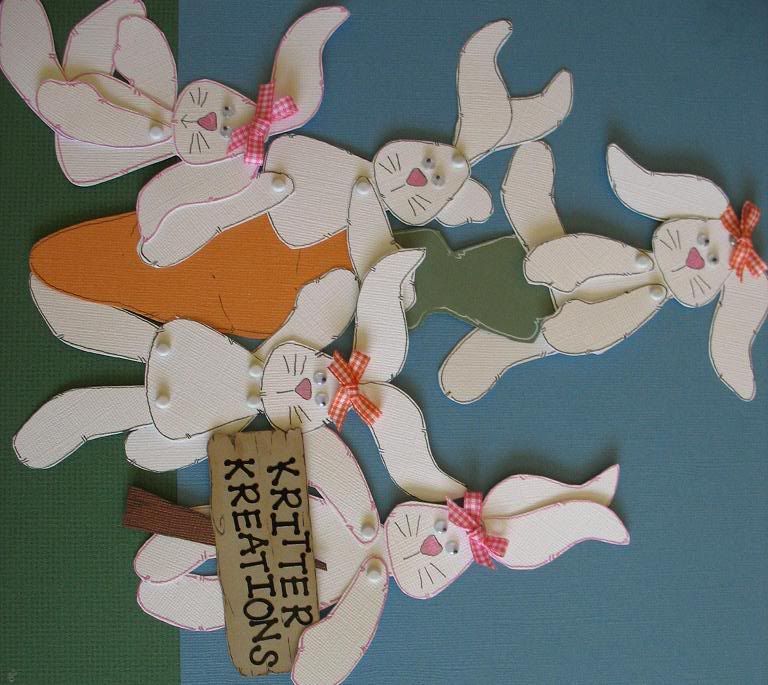
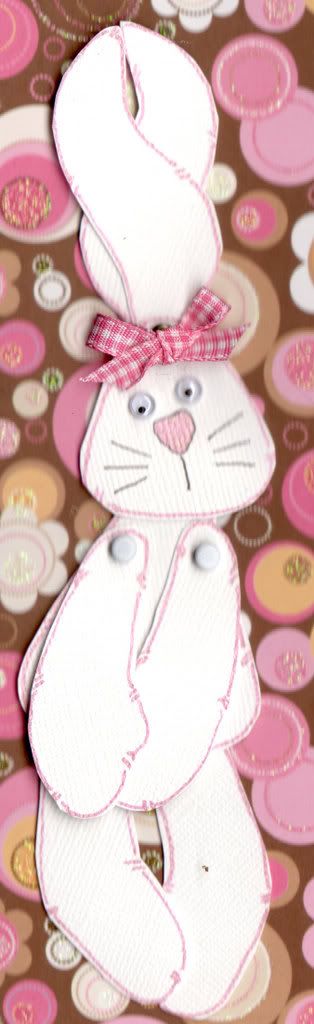
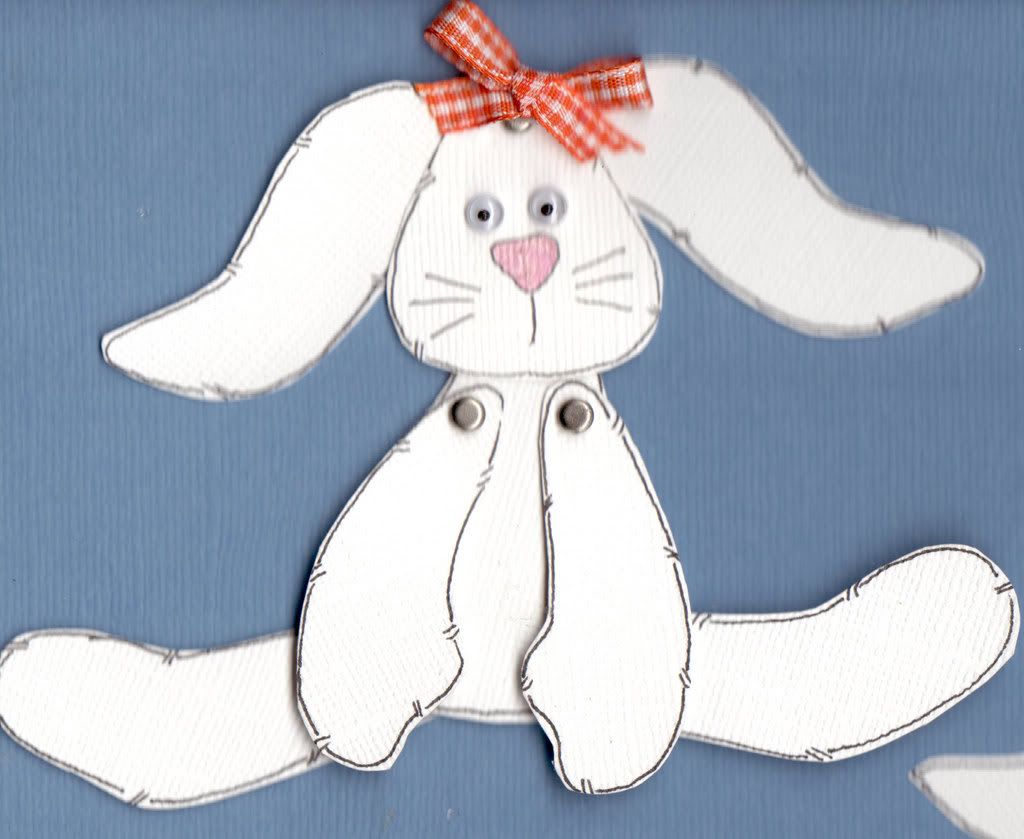
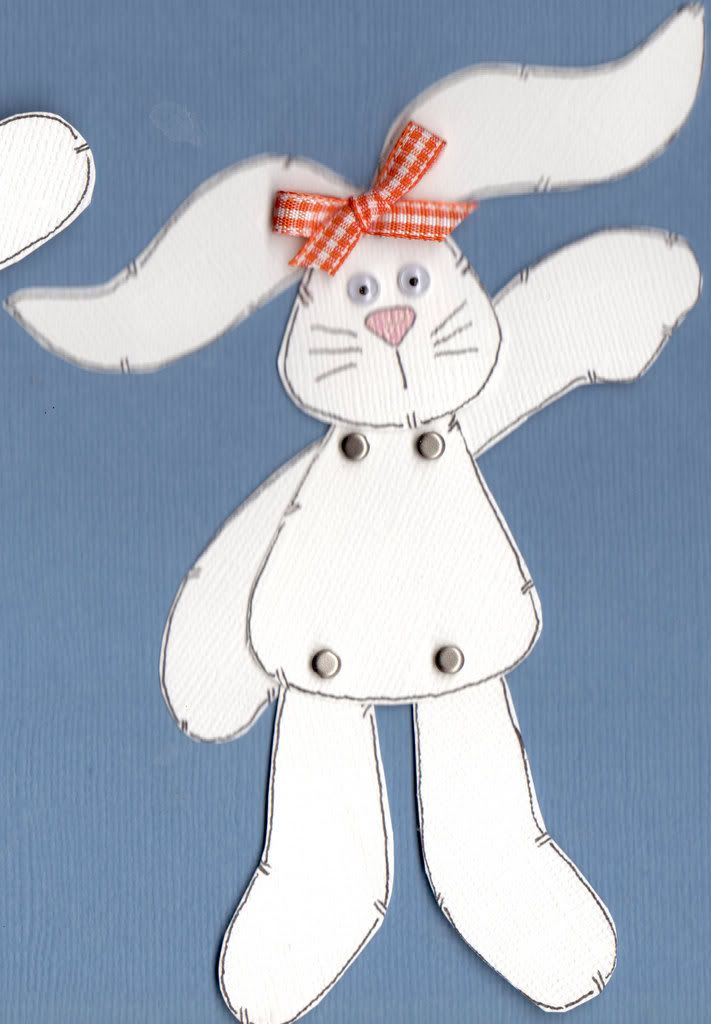
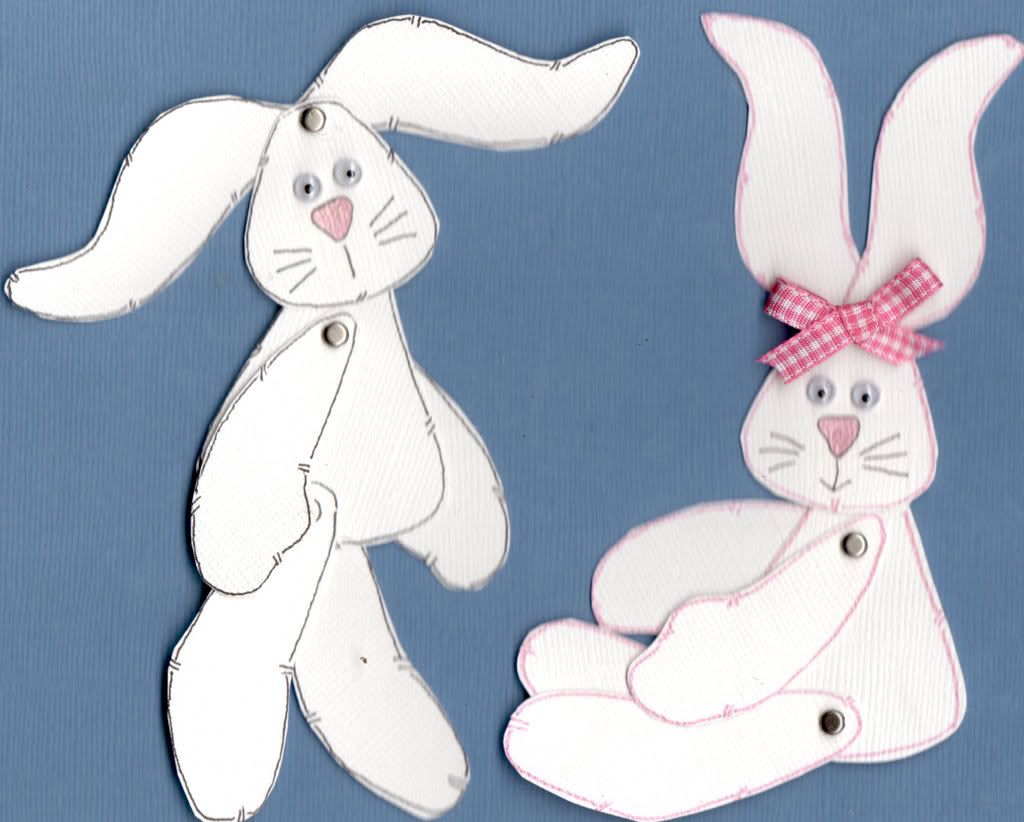
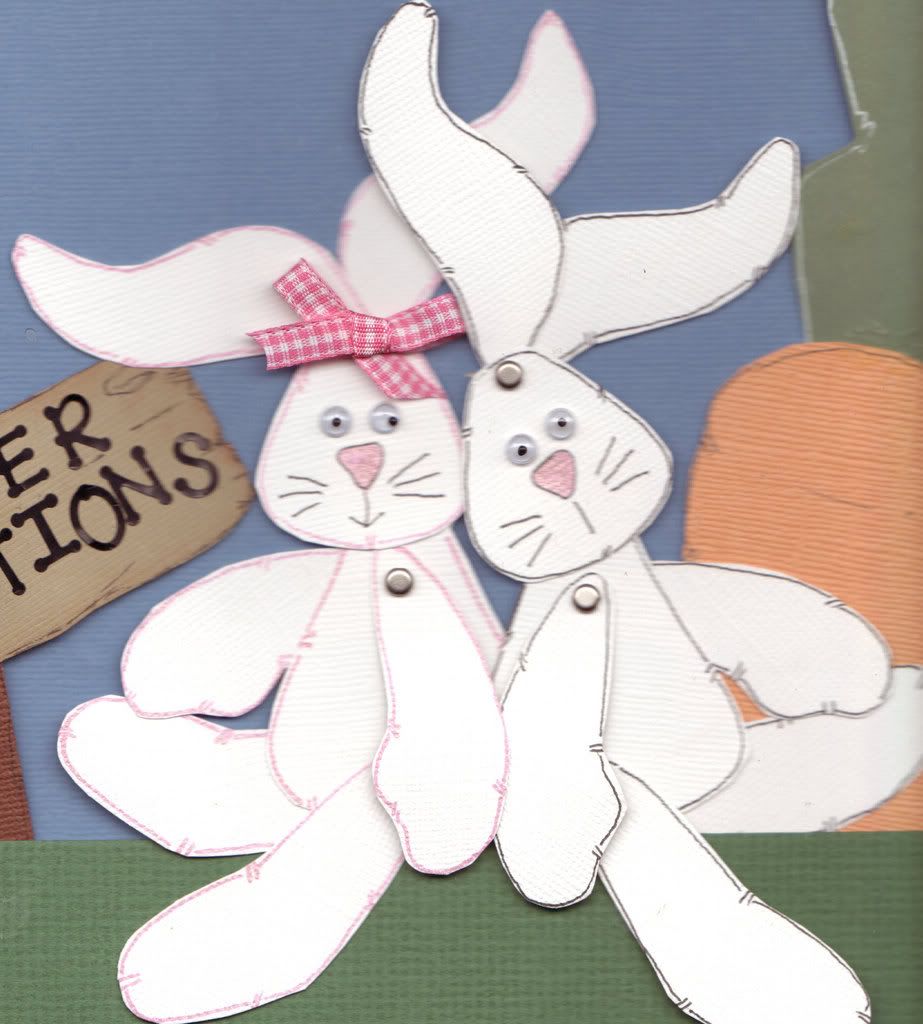
The very versatile MULTI-POSE BUNNY KITS come with pre-printed Bazzill textured cardstock, WHITE Bazzill wings mini-brads, a pretty pre-tied bow, small sized 'googly' eyes and instructions. Each of the bunnies shown in the above pictures was made from one of my BUNNY KITS. As you can see, they can be posed to meet just about any project needs.
The Bunny features arms, legs and ears that swivel and move to create different looks. You can doodle around the edges of each piece or even chalk the edges to customize the look of your BUNNY KRITTER to your project.
Draw pretty eyes and change the facial features....add a bow or leave it off....draw 'stitching' on the bunny's arms and legs to make your bunny look like a favorite stuffed animal.


Placing the arms in front of the body gives you a 'rag doll' look like the bunny is hanging or is propped forward on her arms.


Place the arms in back to make your bunny look like it is waving or hanging from one hand. It can be posed to look like it is holding a title bar or photo mat.

BUY THIS KIT ~ MAKES ONE FRONT FACING BUNNY
$5.50


The SIDE FACING BUNNY KIT makes one bunny facing right and one facing left. The bunny legs, arms and ears are still completely posable and swivel completely around the brad to create a custom look each time. They can be made to 'hug' your photo mats or sit back to back in a rag doll pose. They can stand or 'march'....use your imagination!

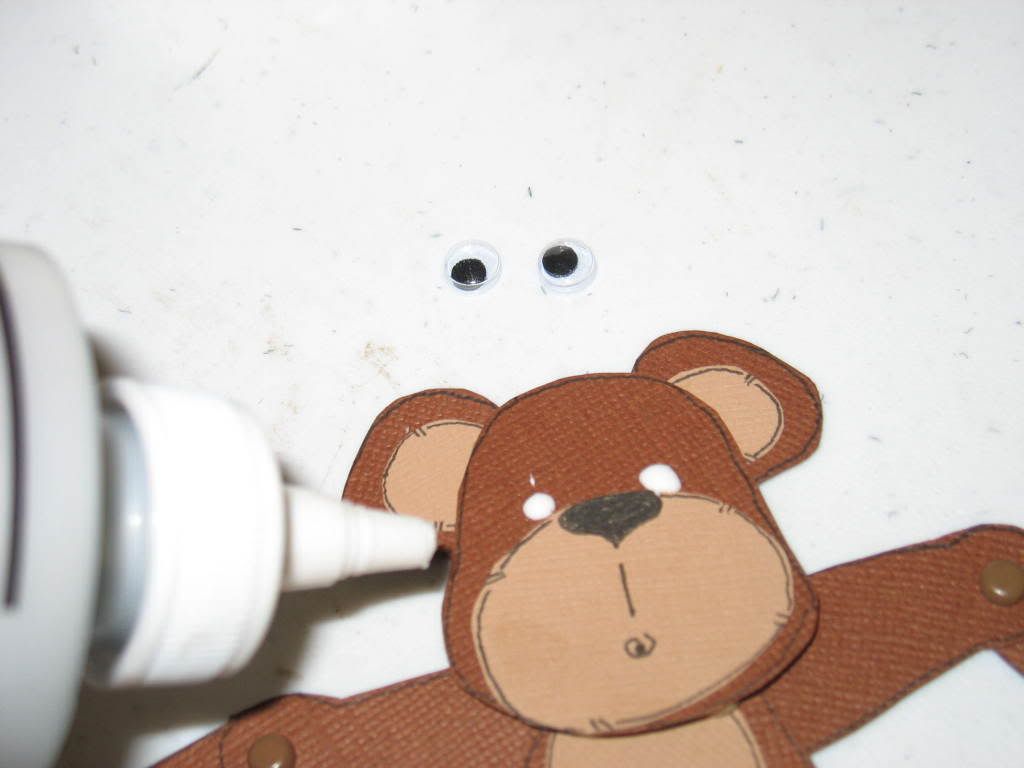
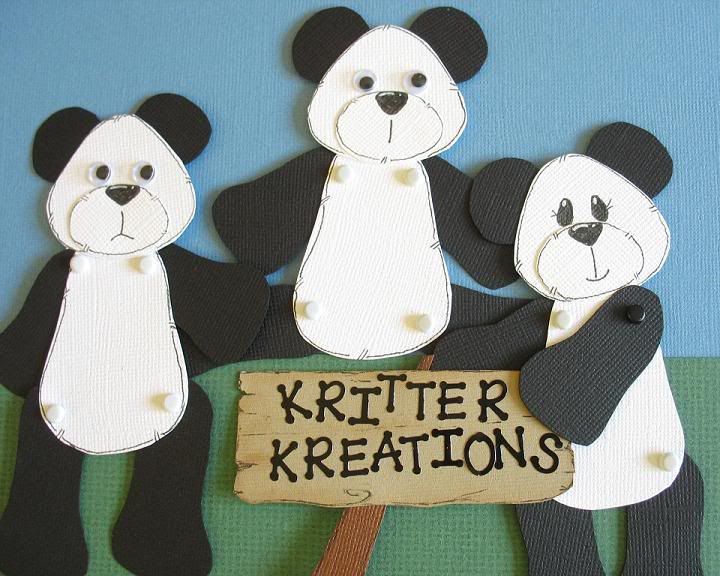
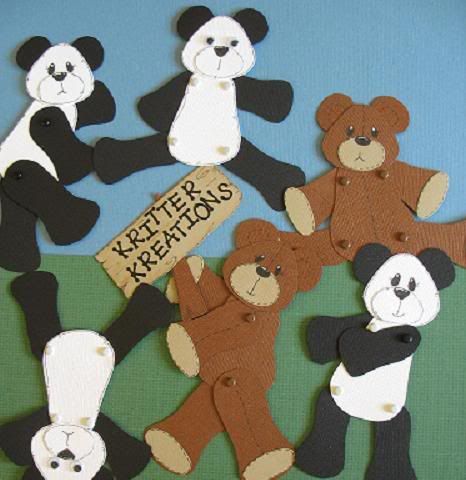
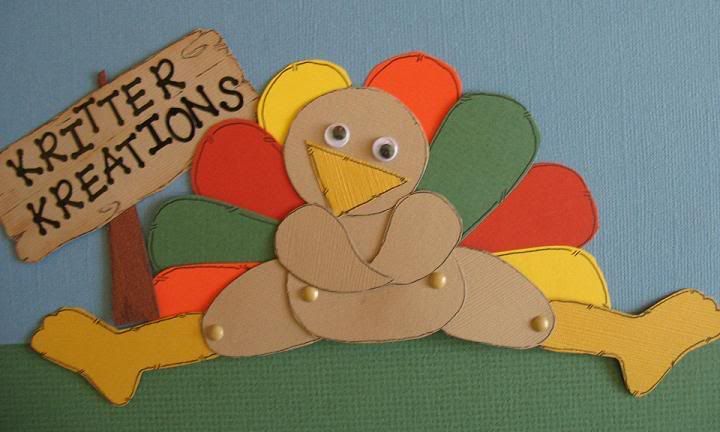
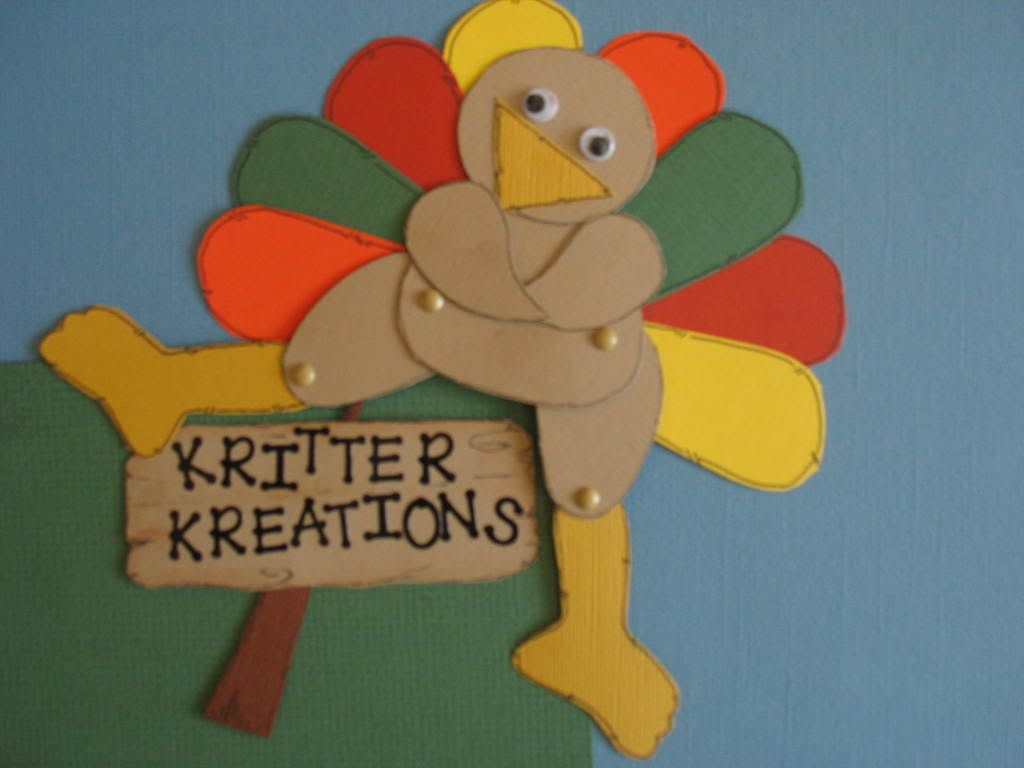
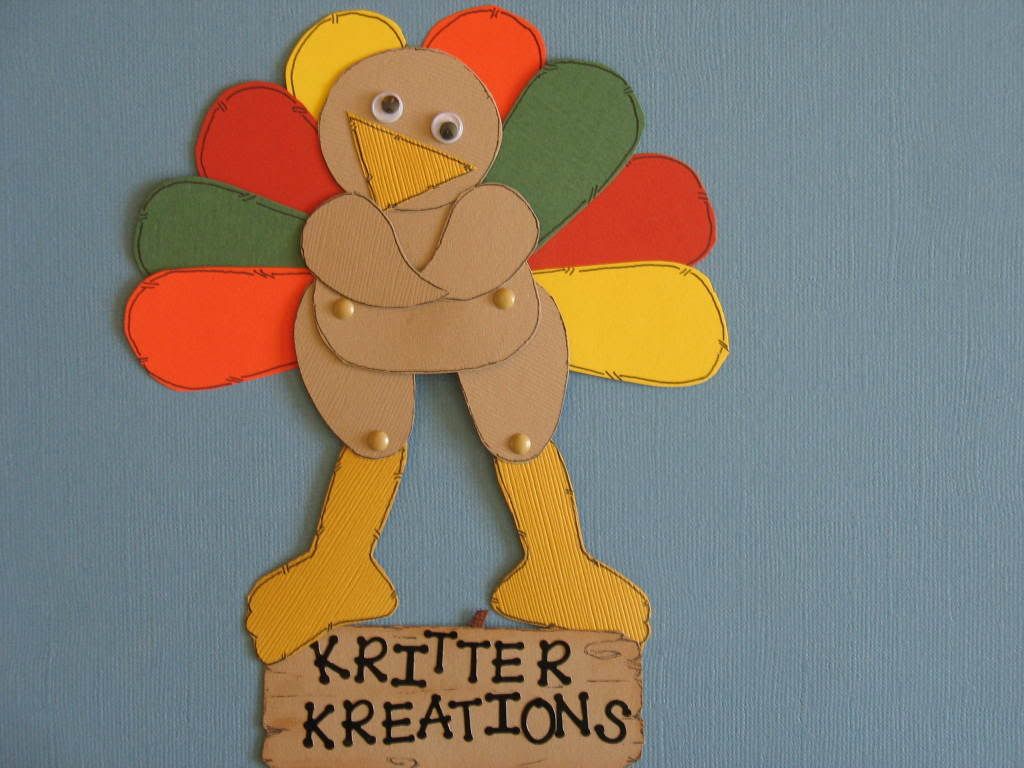
BUY THIS KIT ~ MAKES *2* SIDE-FACING BUNNIES
$9.50


KRITTER KREATIONS MULTI-POSE FROGGY KRITTER KIT OPTIONS

Photo Sharing and Video Hosting at Photobucket

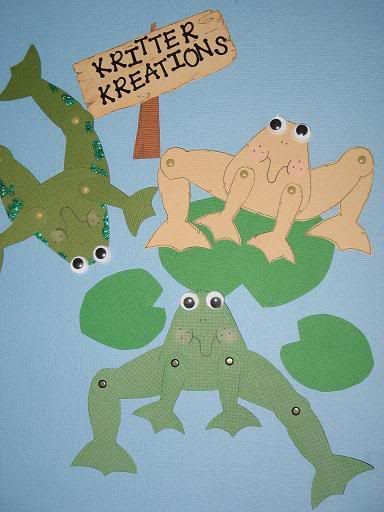
The very versatile MULTI-POSE FROGGY KITS come with pre-printed Bazzill textured cardstock, Green Bazzill wings mini-brads, large 'googly' eyes, and instructions. Each of the frogs shown in the above pictures was made from a the MULTI-POSE FROGGY KIT. As you can see, they can be posed to meet just about any project needs.

BUY THIS KIT ~ MAKES 1 MULTI-POSE FROG IN THE GREEN COLOR SHOWN
$5.50


KRITTER KREATIONS MULTI-POSE PANDA KRITTER KIT OPTIONS

These PANDA kits are so cute! You will receive a pattern to make either the front facing or the side facing MULTI-POSE PANDA KRITTER. The Bazzill in this kit is black and does not show printer ink well so I have hand traced the patterns onto the black Bazzill and computer printed the white parts. You will get the panda pieces, black and white brads, and googly eyes. As you can see, they can be posed to meet just about any project needs.

BUY THIS KIT ~ MAKES 1 FRONT FACING PANDA
$5.50


BUY THIS KIT ~ MAKES 1 SIDE FACING PANDA
$5.50


KRITTER KREATIONS MULTI-POSE TEDDY BEAR KRITTER KIT OPTIONS

Photo Sharing and Video Hosting at Photobucket

In addition to the PANDA kits, I also offer a MULTI-POSE TEDDY BEAR KIT You will receive a pattern to make either the front facing or the side facing teddy bear. You will get the bear pieces, coordinating Bazzill wings brads, and googly eyes. You may also use rub on faces (see my links page) or draw/paint a pretty face on if you prefer. As you can see, they can be posed to meet just about any project needs.

BUY THIS KIT ~ MAKES 1 FRONT FACING TEDDY BEAR
$5.50


BUY THIS KIT ~ MAKES 1 SIDE FACING TEDDY BEAR
$5.50


KRITTER KREATIONS MULTI-POSE TURKEY KRITTER KIT OPTIONS

MULTI-POSE TURKEY KIT ~ One kit and all these poses! Pose him sitting, standing or drape him over the corner of a photo mat for a custom effect in any layout.

KIT COMING SOON! CHECK BACK OFTEN FOR NEW DESIGNS ~ OR SIGN UP FOR MY NEWSLETTERto be notified of new designs when they are listed......

all of my designs are copyright protected and can be found registered under the following numbers
©2005-2007 by Tonya Freeland VAu696-441

graphics courtesy of:

~~~~~~~~~~~~~~~~~~~~~~

Email: mom23txgirls@yahoo.com